Using MPEG Streamclip for Mac #04

MPEG Streamclip tutorial

Using MPEG Streamclip for Mac #04: Keyframes

The version of the application used in previous MPEG Streamclip video tutorial series is 1.8. The current version of MPEG Streamclip for Mac is 1.9.2. In this video tutorial, we want to cover two export options that we didn’t talk about before.

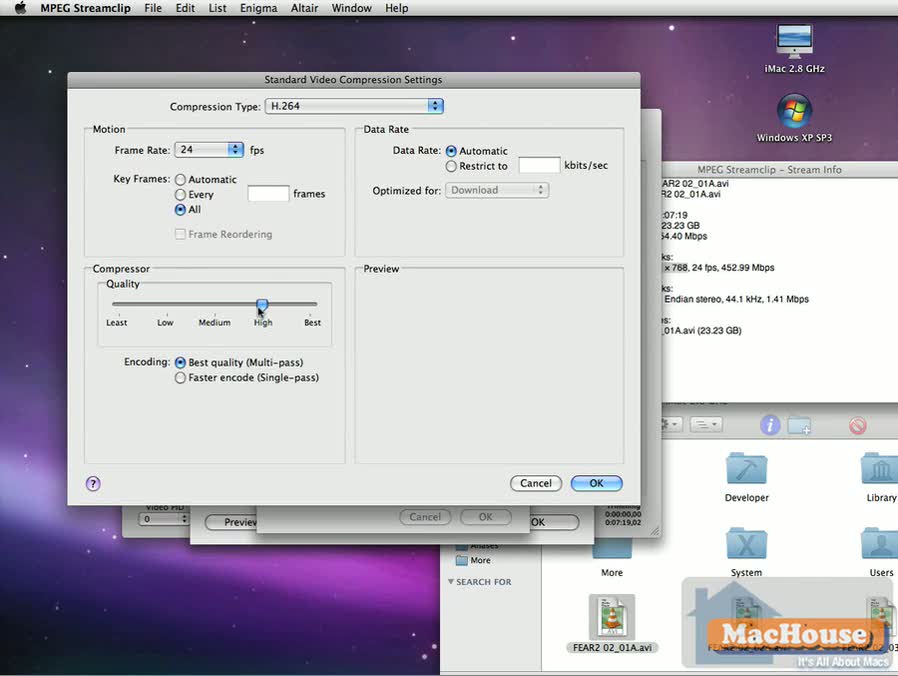
There is nothing wrong with using the Export to QuickTime option when you want to re-compress a QuickTime movie with a different video compressor. MPEG Streamclip lets users set the video quantizer of their choice. The quality quantizer refers to intraframe compression. MPEG-4 also supports temporal compression. And how do we control the number of keyframes with MPEG Streamclip and why? We want to control the number of keyframes so that we can edit video clips with Final Cut Pro and then produce final movies with as little time as possible.

MPEG Streamclip video tutorial MPEG Streamclip video tutorial

For example, it took us about 105 minutes to export the final QuickTime movie of F.E.A.R. 2 Game Play Video Part 2. The movie duration is 22 minutes. Months ago, we would have spent three hours or longer exporting this QuickTime movie directly out of Final Cut Pro.

In this video tutorial, we will show simple steps to re-compress video clips with H.264 under MPEG Streamclip. And we will show what more steps we should take with Final Cut Pro to reduce compression time in an upcoming video tutorial.   Continue reading

Video Tutorial: Making Desktop Video with ScreenFlow – 07

Mac software Telestream ScreenFlow

Video Tutorial: Making Desktop Video with ScreenFlow – 07: Export

Our desktop video project is pretty much over. Now, we are ready to export the project as a QuickTime movie. And we want to compress the video with H.264. For those who are not so familiar with such terms as frame rate, key frame, single-pass, multi-pass and audio sampling rate, let’s go over QuickTime export settings with H.264 once again quickly.   Continue reading

Video Tutorial: Making Desktop Video with ScreenFlow – 06

Mac software Telestream ScreenFlow

Video Tutorial: Making Desktop Video with ScreenFlow – 06: Audio

Let’s see. Last time, we added an introduction movie to our desktop video project. We also added an audio clip for background music. This background music is a bit too noise. In this video tutorial, we want to reduce its volume entirely. Then we want to add a fade-out effect before the frame where the audio clip abruptly ends.   Continue reading

Video Tutorial: Making Desktop Video with ScreenFlow – 05

Mac software Telestream ScreenFlow

Video Tutorial: Making Desktop Video with ScreenFlow – 05: Transition Effect

Let’s see what we have done so far. We recorded a desktop movie based on an existing PayPal phishing website. We then placed several Callout objects. In this video tutorial, we have three objectives.

Adding an introduction movie
Creating a custom transition effect
Adding an audio clip

ScreenFlow allows users to import video clips. That’s nice. But ScreenFlow doesn’t come with transition effects that are used to connect two separate videos. So we want to create a simple transition effect between an introduction movie and the recorded desktop video.   Continue reading

Video Tutorial: Making Desktop Video with ScreenFlow – 04

Mac software Telestream ScreenFlow

Video Tutorial: Making Desktop Video with ScreenFlow – 04: Editing

Last time, we recorded a desktop movie, using an actual PayPal phishing e-mail message. In this fourth video tutorial of the series, we edit this desktop movie. ‘Editing’ includes cutting unnecessary frames and adding Callout objects.   Continue reading